반응형
이번 글에서는 저번 글에 이어서 웹사이트의 footer 부분을 구성하려고 한다. 이전글보기

footer를 구성하려고 하는 와중에 tistory의 footer부분이 맘에들어 이부분을 footer로 만들어 사용하려고 한다.
우선 index.html에 다음코드를 추가한다.
<div class="footer"></div>그 다음 css에 다음코드를 추가한다.
.footer{
    width:100%;
    height:100px;
    position:absolute;
    bottom:0;
    text-align: center;
    background-color: #6a737b;
}
실행시키면 다음과 같은 페이지가 나온다.

그 다음 footer 중간에 원형의 프로필 이미지를 넣어야한다.
html footer div에 다음과 같은 소스코드를 추가한다.
<img src="./guardy.jpg" width="100" height="100" class="circle"> img를 넣었으면 중앙부분에 프로필 이미지를 위치시켜야한다.
이미지를 div의 중앙에 위치시키는 방법은 다음과 같은 css를 쓰면 된다.
.circle{
    margin-top: -80px;
    display: block;
    margin-right: auto;
    margin-left: auto;
    border-radius: 50%;
}
모두 저장하고 웹 페이지를 열면 다음과 같은 화면이 나온다.

이제 아래 소개 부분을 채워보자.
<p class="name">guardy<br></p>
<div class="detail">
		<p>blog : <a class="blog-link" href="http://dev-guardy.tistory.com">dev-guardy.tistory.com</a></p>
		<p>#파이썬 #크롤링 #WEB</p>
</div>
이제 css를 이용해서 소개 부분을 다시 꾸며준다.
.circle{
    margin-top: -80px;
    display: block;
    margin-right: auto;
    margin-left: auto;
    border-radius: 50%;
}
.name{
    display: block;
    margin-right: auto;
    margin-left: auto;
    color: #FFaa00;
    line-height: 1.8;
}
p{
    margin: 0;
    color:white;
}
.blog-link{
    text-decoration: none;
    color:white;
}
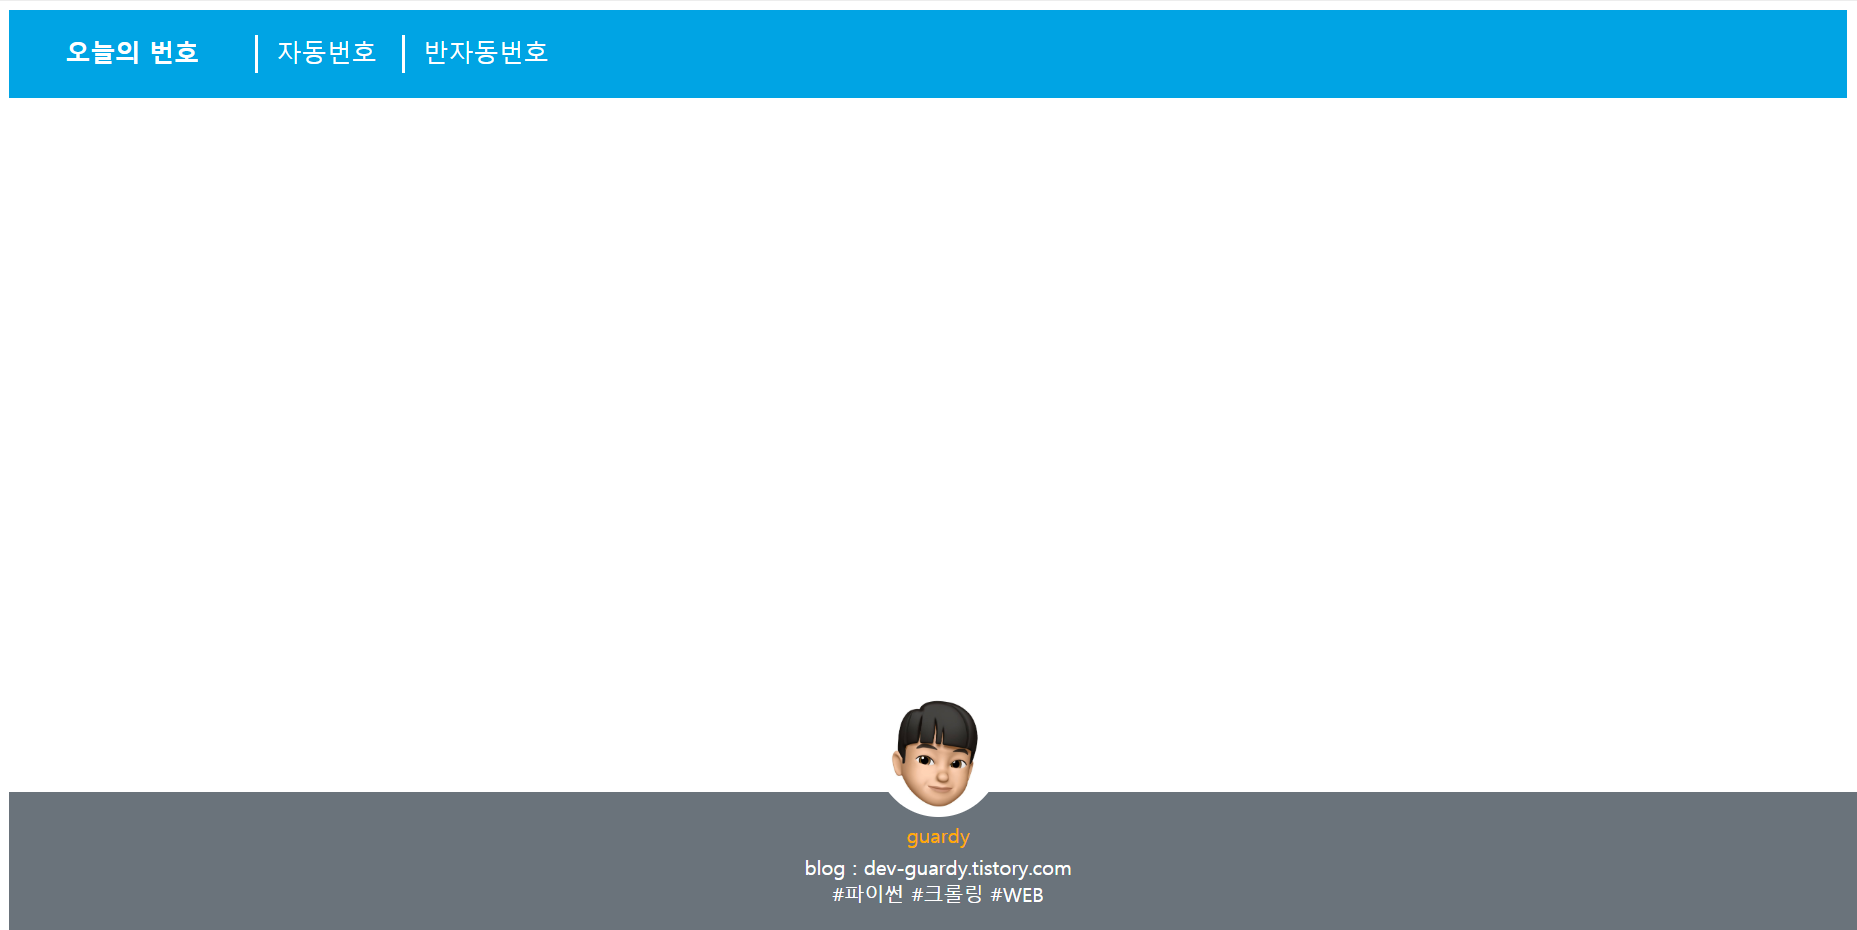
완성된 Footer를 넣은 웹페이지는 다음과 같다.

다음 글에서는 mainpage를 구성하여 index.html을 마무리하겠다.
css나 html 코드에 대해 이해가 안되는 분들은 댓글로 남겨주시면 최대한 알려드리겠습니다.
반응형
'WEB > 로또번호 생성 웹사이트 만들기' 카테고리의 다른 글
| 로또번호 생성 웹사이트 무료로 만들기 6 (0) | 2020.07.17 |
|---|---|
| 로또번호 생성 웹사이트 무료로 만들기 5 (0) | 2020.07.16 |
| 로또번호 생성 웹사이트 무료로 만들기 4 (0) | 2020.07.15 |
| 로또번호 생성 웹사이트 무료로 만들기 2 (0) | 2020.07.14 |
| 로또번호 생성 웹사이트 무료로 만들기 1 (0) | 2020.07.12 |


